
The following is my first attempt at metal-working. This all began due to my enrollment in a metal-working class offered by the University of Kentucky Fine Arts Institute. A list of classes available can be found here:
I’ve found that when it comes to creativity, my desire to build things comes from a functional point of view. I have a hard time understanding the need for purely decorative art aside from a beautiful piece of wall art or small sculpture. Previously, my work in wood is usually in the form of building a desk, a stand-alone pantry, or a small box. It allows for me to express myself creatively, while at the same time justify the expense of tools, material, and time. The end state of some of these projects varies! The size and design of some of these projects usually matched the space that it would function.
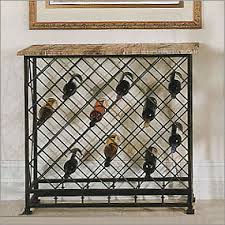
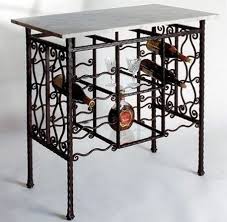
My current project takes the form of a table with a wine rack underneath. Upon starting the class, I sought out a project that would be simple enough for an amateur welder, but would still add enough value to my home through function and visually appealing. Searching the internet revealed a number of possible designs in which I drew inspiration. After sketching a few designs on paper and checking the measurements of the spot that it would live, the idea went straight into AutoCAD.
 |  |
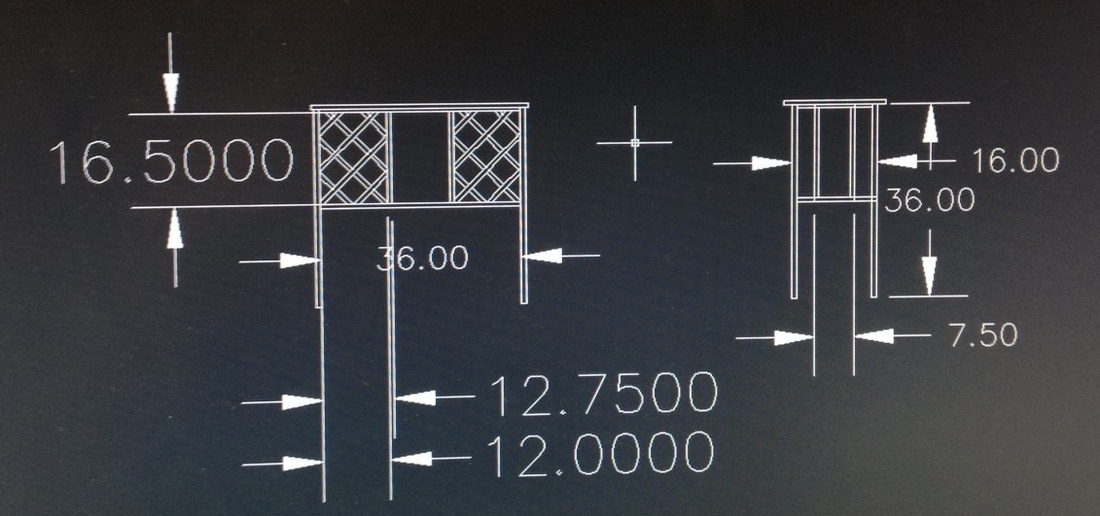
The AutoCAD design was a bit rough, but the different views give a good impression of what the final product will be. You may notice a few changes to the final design, but for the most part this is how the table looks minus the wooden top.
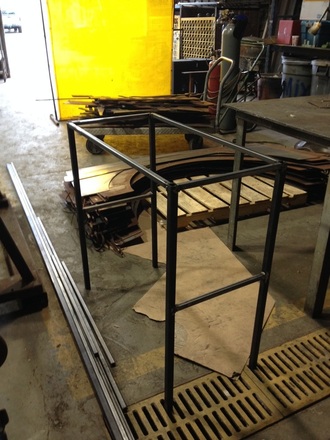
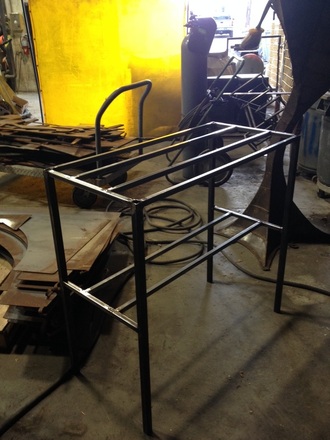
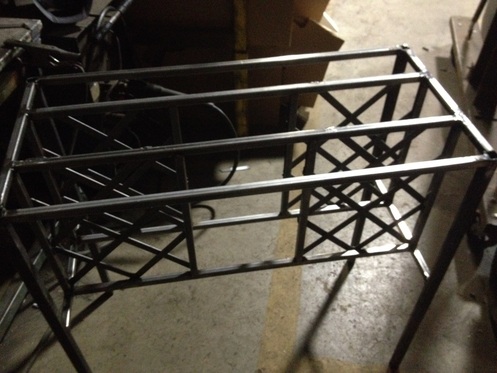
Construction of the table has started after attending a few classes and learning how to MIG weld. The legs went together quite well. Grinding takes a lot longer than I expected, and was told by a fellow shop user that the process is 20%/80% welding to grinding. I’ve decided that welding less is better. The rest of the frame went together surprisingly well. After only a few sessions the table practically works.
 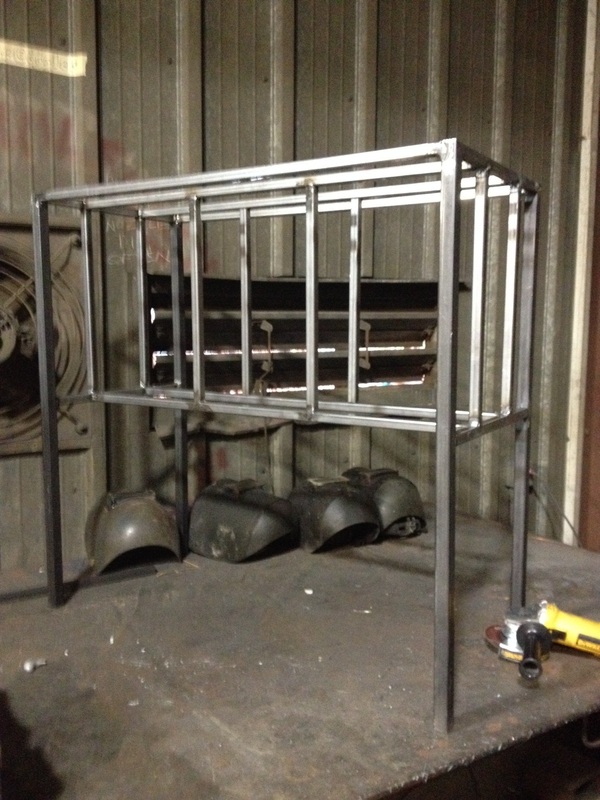 |   |
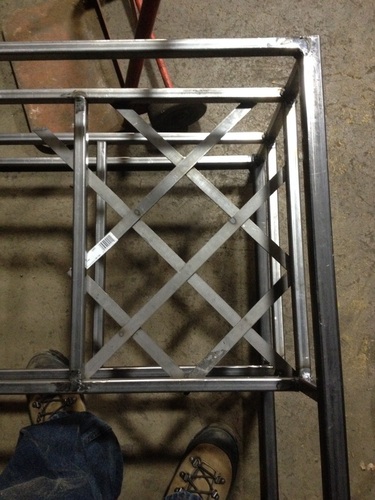
The metal hatching that will become the wine rack proved to be far more difficult than the previous steps. Attempting to square two pieces of metal in a design and still fit evenly into a space was challenging. It became easier to simply weld pieces into place and worry about cleaning up later. The second set of hatching went together much easier once I had a rough pattern to match.
Getting back to work on the project, the first thing I did was finish making the metal hatching for the wine rack portion. This was a lot easier this time around because I had a pattern to copy and use of a metal band-saw. It made cutting the 1/8th inch steel bars easier and cleaner than a plasma cutter or chop saw.
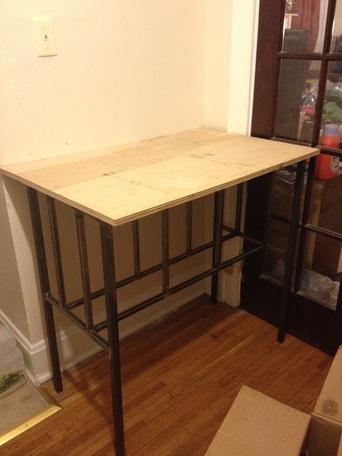
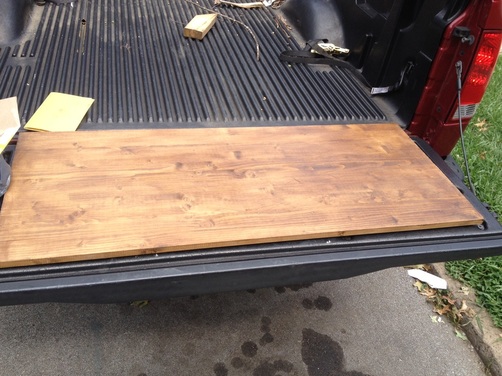
With all of the heavy lifting parts complete, it came time to finally get the board ready. I purchased a board from Lowes that was marketed as "ready to stain" which was accurate. I just started staining away. Between coats I sanded it with very fine sand paper which kept the grain smooth. After a couple of coats of stain I topped it off with a few coats of polyurethane to protect it from future messes. This table is being used in my kitchen right now since I have a lack of counter space. I would be quite upset if something spilling ruined the wood.
Lastly, I used some simple metal pipe straps to mount the board onto the steel frame. I had to use some pliers to manipulate the straps since this isn't what they are designed for. The board attached snugly and the frame doesn't shift when it's picked up by the board and moved. The board was a little bigger than the original design called for so I had to move some thing around in the kitchen to make room for it, but by far, I really like the outcome. I no longer have to worry my surface collapsing under the weight of a cutting board. I only have one bottle of wine, but maybe one day I'll have more.
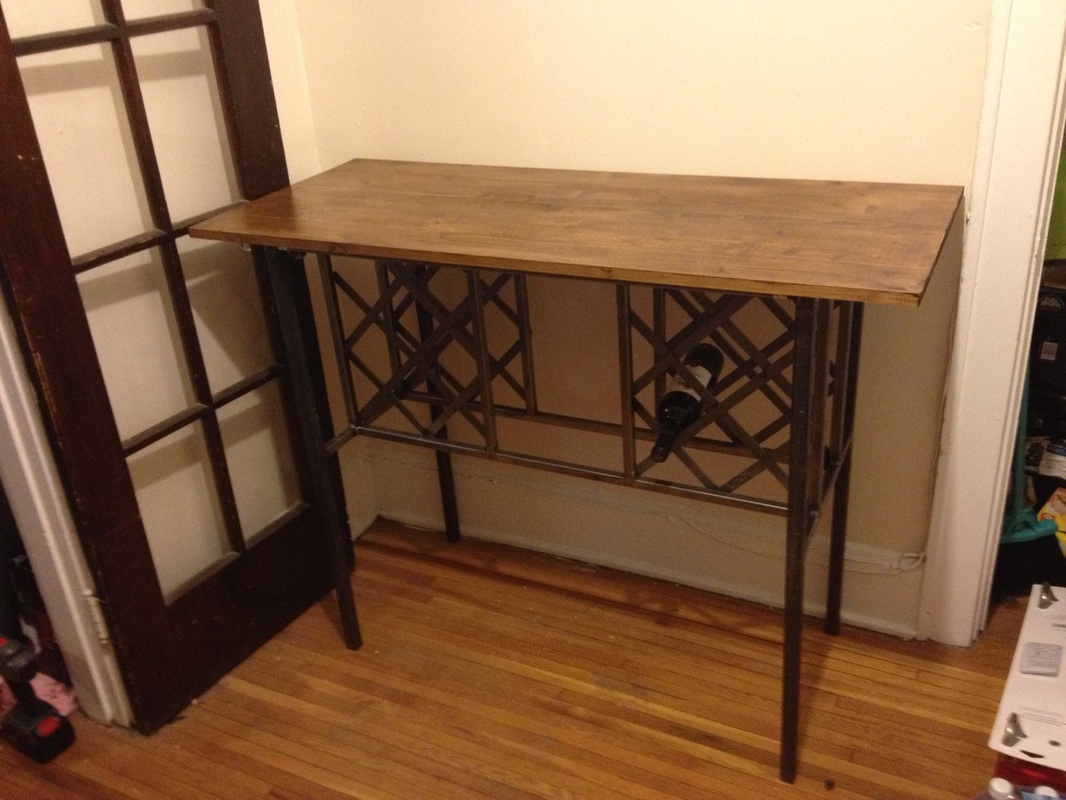
Completed Wood/Steel table
In the next few weeks the back hatching will be put on, the table top will be stained and fastened to the table frame and the project will be complete. The top will be a bit wider than I originally expected, but that is just part of the process of accepting an easier path when materials and tools are limited. You can now see the finished project above.
From all of this I think I've learned a few important facts:
- Don't be afraid to try something new. I've never welded like this before, but after a day I was doing my own thing.
- Don't sweat the small imperfections.
- It ends up being less stressful if you have plenty of materials. (Using scraps from other pieces will work in a bind, but won't look nearly as good. I've tried that before with mixed results.)
- Don't worry about uneven legs when the floor isn't flat either. (I was super lucky in this aspect and it doesn't wobble at all)
This part of the project is finished for now, but with the left over materials that I have, a coffee table to match in style and design is underway. Look back later for more updates. Thanks again,
 RSS Feed
