
Before all of the boxes were moved into the house, there was a few things that we wanted to do. One of the first big projects that my wife and I took on was the kitchen. It was a nice sized kitchen with standard cabinets, stainless steel appliances, and a thick granite counter top. Pretty much a standard for a "modern" kitchen. The backsplash tile was a large stone pattern with black glass details. Overall, it was a nice kitchen. There was a few things that we wanted to change, however.
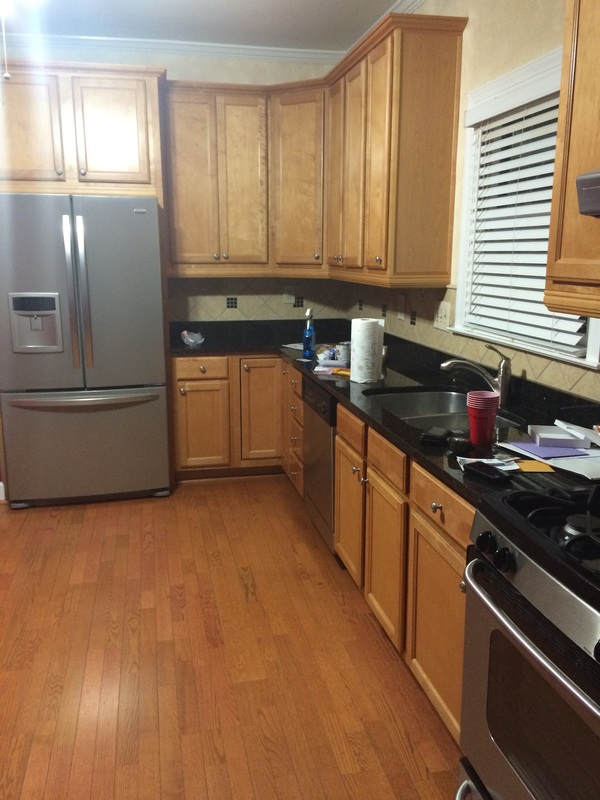
The first thing was the cabinets. My wife wanted to paint them white. As you can see from the pictures, the kitchen is somewhat dark. While I enjoy a dark room, probably from my years of being a basement nerd, my wife wanted to lighten up the room and I agreed. She started on the path of painting the cabinets white using a box kit from Home Depot. This turned out to be a process that took a lot longer than we originally expected, but the end product looked awesome.
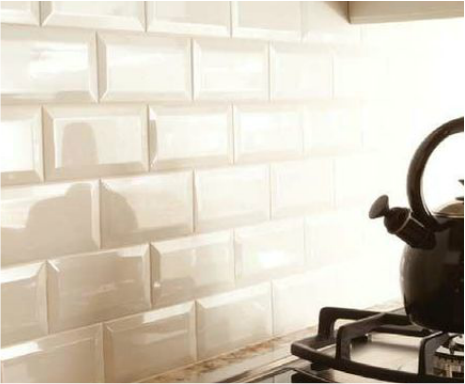
While she did this, I began removing the backsplash tile. Going with the theme of making things brighter, we decided on going with a white subway tile backsplash. This was going to require all of the existing tile to be removed and the surface prepared.
My first thought was to use a chissle to remove the tile. This "worked", but ended up crushing the drywall behind it. I didn't realize it was happening at first, but when you start prying the tile off by hand, large portions of drywall were coming off with it. Very soon I had fist-sized holes in my kitchen wall. I felt very frustrated with the drywall, but because of the way that drywall is normally installed, the backsplash just happened to fall along the seam and therefore didn't have much strength. Next we tried using a pry bar. This worked better, but we still had moments where it collapsed to the forces of destruction.
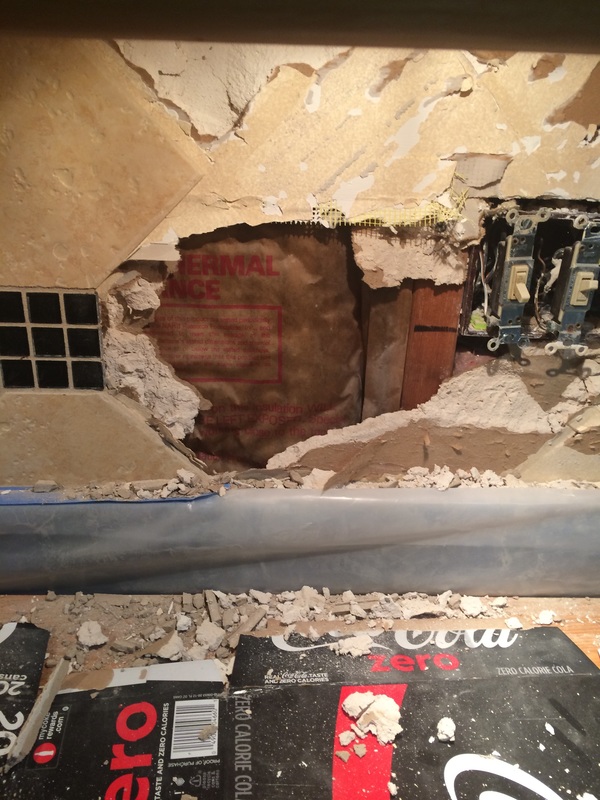
Lastly, I realized I could just hammer the crap out of it. Repeated banging shattered the stone-like tile and caused it to rain down on the counter tops. This produced a lot of sharp tile pieces, so if you attempt this, be careful or wear gloves.
Tip: Lay down some heavy duty paper on your counter top. While mine was already showing wear from the previous owner, it would of been a lot earlier cleaning up grout and adhesive later.
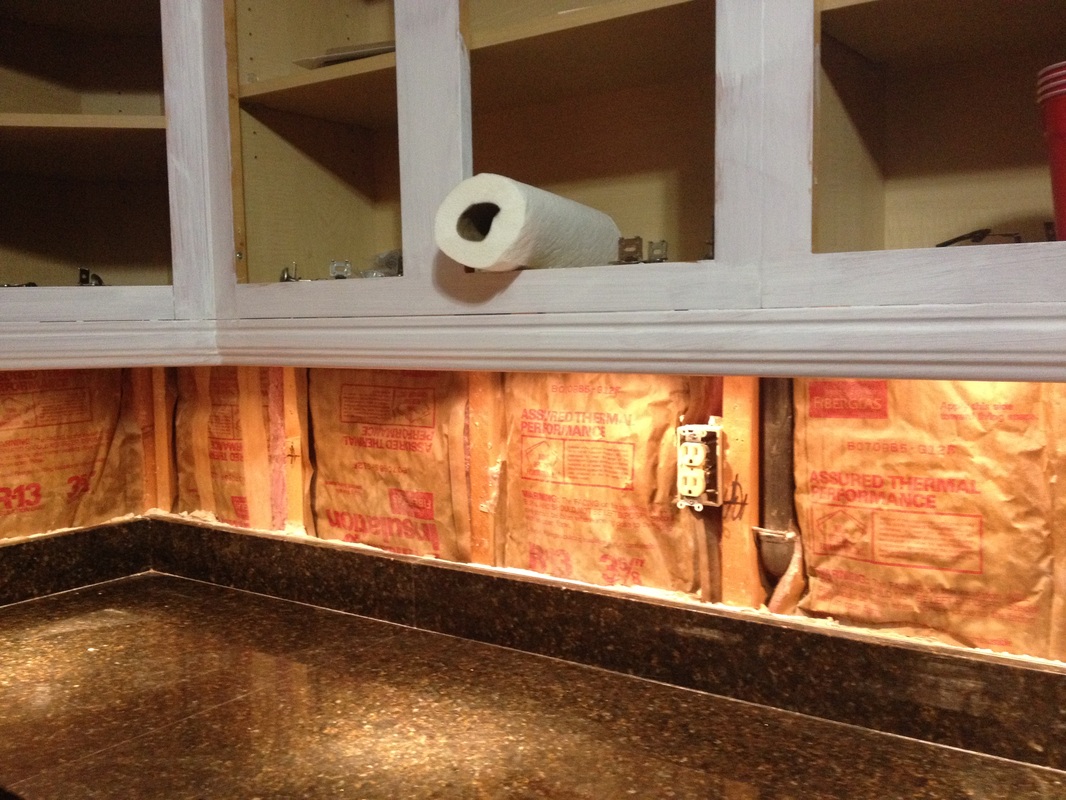
Once all of the tile was removed, I knew I had gotten myself into a mess. I was going to have to either patch the drywall in many places, or cut all of the drywall out and replace it. I went with the second option. I figured that having a smooth clean surface would be better that a rough patch job. Using a drywall saw would of made sense, but since I didn't have one of those I just started hacking away with an utility knife.
I should note now the patience of my wife. She's one to have things in a stable state. Upon seeing the half destroyed drywall, I expected the worse, but in fact she just took it in, looked at me, and said okay. It was a great relief to see her confidence in me and my budding skills.
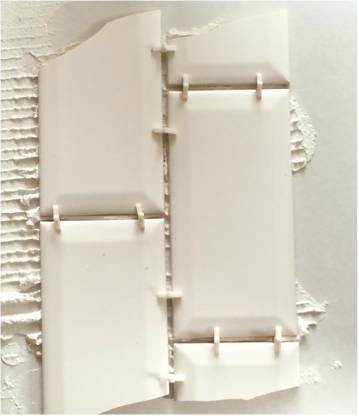
Eventually, I had all of the drywall down and the edges cleaned up. Around the cabinet trim, it was going to be difficult, but manageable to place new boards in without a large gap. I found a spot where I thought the original drywall had kept its original density and measured it. It seemed to be a half inch thick.
I bought half inch drywall and began putting it up. I quickly realized that I might of made a mistake. Once screwed to the wall, there seemed to be a bit of old drywall showing. Perhaps it was actually 5/8 inch. At this point it was too late, so we soldiered on.
At this point, I had pretty much been doing things that I've done before. I've put up drywall before, so that was somewhat easy. I've never laid tile before. I went to YouTube and started watching. Lots of useful videos showed exactly how to complete the process. I was still nervous though, so anyone else that is considering it, that's normal.
We bought a few tubes of already mixed grout/adhesive combo. Supposedly it does both. This seemed like a bad idea to me in the store, but I couldn't think of a justifiable reason to not try it. It saved us from having to do backyard chemistry and mixing the adhesive and grout with water in buckets. I can see the benefit of doing it that way. You can alter the consistency and make a lot of it with just a bag of dry powder and a water hose. We also picked up a few tools and we're ready to go. I'll try to make a list of supplies before for reference.
Practicing really helped me get some confidence in what I was doing. This may seem obvious, but I didn't want to waste too much material. Luckily, when buying the tile in the store, the woman that was helping us realized we had some cracked pieces in the case. She threw in some replacement tiles, but we got to keep the broken ones. This ended up being perfect for practicing. After practicing on a spare piece of drywall, we started laying the tile. While I was making the cuts, my wife was laying the tile. As a team, we were making a ton of progress. This was a great way to do it because it left one person in charge of laying the adhesive and planning all the cuts. It took a few days of on and off again tiling, but we got it all laid out. And it looked great. It's not perfect, but I would trust my work again.
Next I came through with the grouting. We used the same material as the adhesive. It was a sanded grout, which I think might of been a mistake for 1/8th inch grout lines. (We read the container, it said it could handle it, but I wonder what it would of been like). It was a messy process, but I was amazed how the true tool that made a good outcome was the sponge. It smoothed out the grout lines and cleaned the tile in one step. We came back after the grout was dried with another wet sponge to get the film off the tile. Luckily, subway tile has a nice glazed finish so it cleaned up easy. We then sealed the grout lines with some good expensive sealer.

In the final step of the process, I came back through with caulking. This was probably the easiest part of the whole process. It went on smooth and once I used a finger to smooth out the lines, it dried quick. All of those small areas along the edges that stood out were easily covered up with the caulk. I then came back through with a putty knife and cleaned all the excess caulking away and scrubbed down the counter and backsplash with a rough pad.

With the counters cleaned, the cabinets painted, and the backsplash in place, we finally started unpacking our kitchen. It took us many evenings of work, but it was something that could be done by a novice that's willing to learn how. I would say that this is a task that a lot of people could do. I highly recommend going online to YouTube to find some videos that show how to do this. One thing that I found, is that everyone will have a different idea of the correct way to do it. I'll post some videos below. As long as you don't rush the job, and are not afraid to try something new, it can be a fun experience.
Many thanks to everyone who gave advice and especially to my aunt and uncle for lending me a tile saw. It was invaluable and any tile job should use one.
 RSS Feed
